Table of Contents
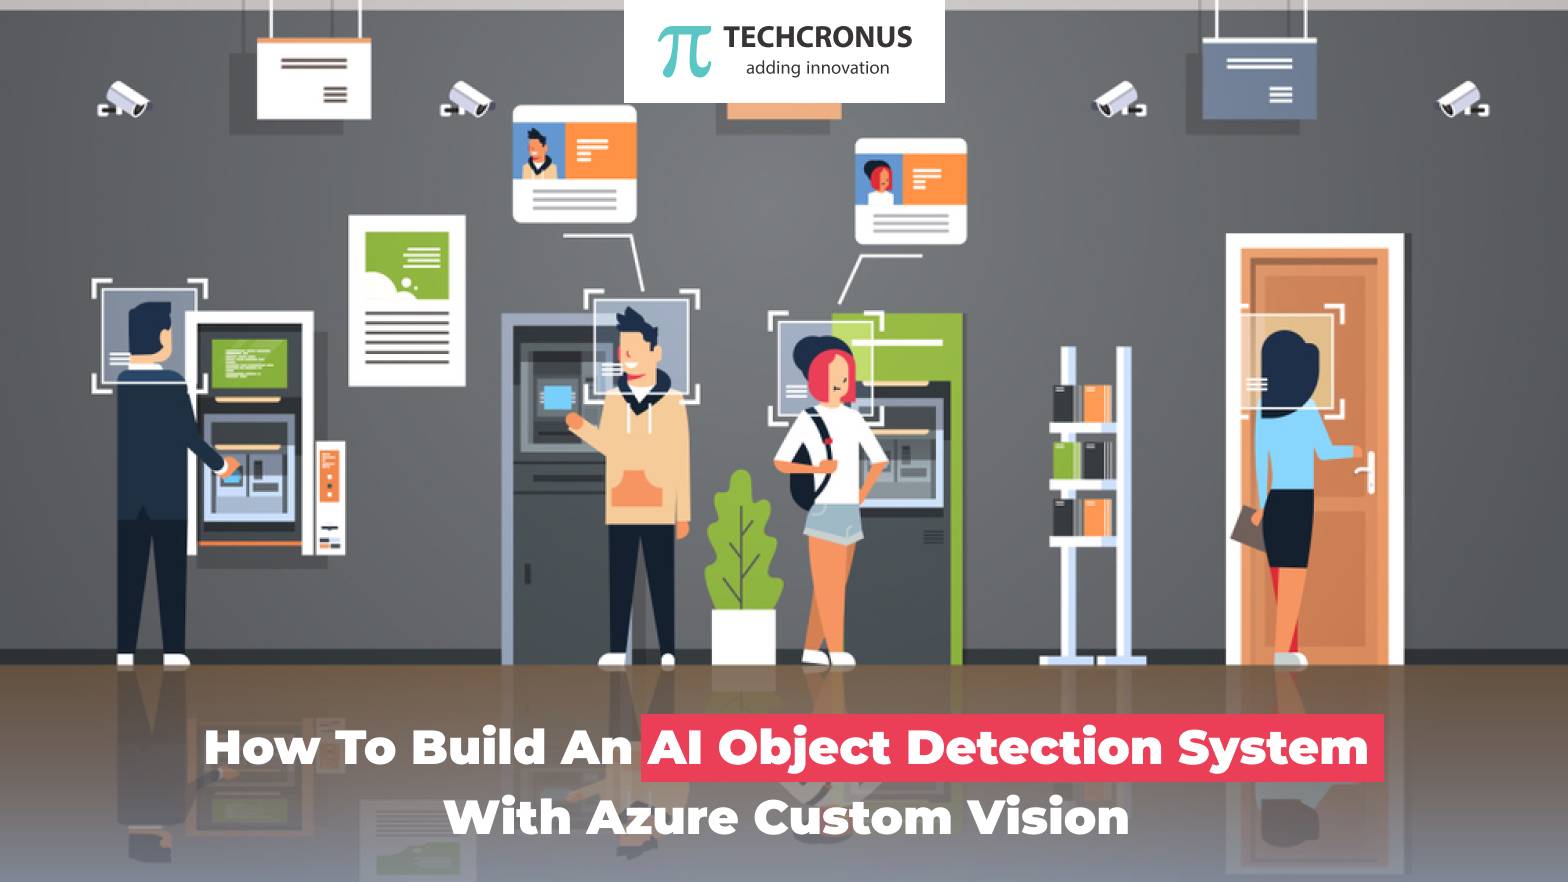
To design an AI object detection system using Azure Custom Vision, you must first create an Azure account and gain access to the Custom Vision service. The next step is to start a new project and add the photographs that will be used to train the model. Then, the photos should be labeled with bounding boxes around the important things. Train the model with the labeled photos after they have been tagged. The model can then be put to the test by uploading fresh photographs to see if it can successfully identify the target objects. Finally, make the model available as an API that can be included in other programs. Building and training object identification models are made easier by the use of an intuitive interface offered by Azure Custom Vision.
What is Machine Learning?
Machine learning is a type of artificial intelligence (AI) that enables computer systems to automatically learn and improve from experience without being explicitly programmed. It involves the use of statistical algorithms and mathematical models to analyze large datasets and recognize patterns in them.
The primary goal of machine learning is to develop algorithms that can learn and improve on their own without human intervention. These algorithms are trained on vast amounts of data, which enables them to identify complex patterns and relationships that would be difficult or impossible for humans to recognize.
Machine learning has many applications in various fields, including image and speech recognition, natural language processing, recommendation systems, fraud detection, and autonomous vehicles. With the ability to automatically learn and improve from experience, machine learning is rapidly changing the way we live and work.
Building an Object Detection System with Custom Vision.
- Creating a Custom Vision project: Start by creating a new Custom Vision project in the Azure portal. Provide details such as project name, description, and domain.
- Uploading images: Next, upload images of objects that you want to detect. Ensure that the images cover a wide range of object types and are labeled correctly.
- Tagging images: After uploading the images, use the Custom Vision tagging tool to label objects in each image. Draw a bounding box around each object and give it an appropriate tag name.
- Training the model: Once the images are tagged, train the Custom Vision model. The model uses the tagged images to learn the features of each object type, allowing it to recognize and classify them.
- Testing and iterating: After training, test the model by uploading new images and verifying its accuracy. If the accuracy is not satisfactory, repeat the tagging and training process until you achieve the desired accuracy.
- Deploying the model: Finally, deploy the trained model as an API endpoint that can be accessed from your application. You can then use the API to detect objects in new images.
Building an object detection system with Custom Vision is a straightforward process that does not require extensive programming knowledge. Custom Vision provides an easy-to-use interface and a variety of features that make the process of building and training object detection models simple and intuitive.
Part One – Training a predictive model
- Collecting and preparing data:
- Selecting features:
- Choosing a model:
- Training the model:
- Evaluating the model:
- Fine-tuning the model:
Part Two – Running Predictions
- Collecting input data:
- Preprocessing the input data:
- Feeding the input data to the model:
- Collecting output data:
- Postprocessing the output data:
- Iterating on the predictions:
Step-By-Step Guide On Getting Started With Custom Vision
Getting started with Custom Vision involves the following step-by-step guide:
- Create an Azure account: If you don’t already have one, create an Azure account by going to the Azure website and following the instructions to sign up.
- Create a Custom Vision project: Once you have an Azure account, navigate to the Custom Vision portal and create a new project. Give the project a name, select a domain, and choose a project type.
- Add images: The next step is to add images to the project. You can either upload images from your computer or import them from an existing dataset. Make sure that the images cover a wide range of object types and are labeled correctly.
- Tag images: After uploading the images, use the Custom Vision tagging tool to label objects in each image. Draw a bounding box around each object and give it an appropriate tag name.
- Train the model: Once the images are tagged, train the Custom Vision model by clicking the “Train” button. The model uses the tagged images to learn the features of each object type, allowing it to recognize and classify them.
- Test the model: After training, test the model by uploading new images and verifying its accuracy. If the accuracy is not satisfactory, repeat the tagging and training process until you achieve the desired accuracy.
- Deploy the model: Finally, deploy the trained model as an API endpoint that can be accessed from your application. You can then use the API to detect objects in new images.
Getting started with Custom Vision is a straightforward process that does not require extensive programming knowledge. Custom Vision provides an easy-to-use interface and a variety of features that make the process of building and training object detection models simple and intuitive.
FAQ’s
What is Azure Custom Vision?
Azure Custom Vision is a cloud-based machine learning service provided by Microsoft Azure that allows developers to create custom image classification and object detection models without requiring extensive knowledge of machine learning or data science.
What is Azure Cognitive Services?
Azure Cognitive Services is a cloud-based suite of AI and machine learning tools provided by Microsoft Azure. These services enable developers to easily add intelligent capabilities, such as speech and image recognition, language understanding, and decision-making to their applications without requiring extensive knowledge or expertise in AI or data science.
How do you set up a project using Azure Custom Vision?
To set up a project using Azure Custom Vision, log in to the Custom Vision portal, create a new project, add images, tag them with labels or bounding boxes, train the model, and deploy it.
Conclusion
Techcronus, Azure Custom Vision is a powerful tool that allows developers to easily create custom image classification and object detection models without requiring extensive knowledge of machine learning or data science. With its easy-to-use interface, developers can quickly upload their own images, tag them with labels or bounding boxes, and train the machine learning model to accurately classify or detect objects in images.
Custom Vision also provides APIs that can be integrated into apps, allowing them to use the trained model to classify or detect objects in real-time. By leveraging the capabilities of Hire Azure Developer for Custom Vision, programmers can add intelligent features to their applications, enhance user experiences, and drive business value.