
Table of Contents
Today’s world exists in a digital space. The use of mobile phones has increased the need for unique applications. This is why it is important to understand how do you start with your first app. As a developer, you may have several questions regarding the technological aspects, coding, APIs and much more. Here is a simple guide to help you develop your first application using React Native.
React has gained popularity worldwide. It allows developers to use the same API and elements from platforms like React, React Native and other Native technologies. React Native works through an amalgamation of JavaScipt, Java. Objective C and C/C++. With this platform, you have more choices and you can select the most suitable ones. It is advised to design the desired structure beforehand and then select the tools as per the structure. Let’s dig deeper into the process for create react native app.
Create React Native App
Before we go into the process of creating the app, there are a few requirements. These are a few recommendations to help you set up the development environment.
React Native utilises Node.js to create the JavaScript codes. In case, you do not have it already installed, open the official website to get Node.js.
You will need the Java SE Development Kit. This will work irrespective of your Operating system. Ensure that the version you choose for installation is at least >= 8.
If you are using Mac, you can go for Xcode. If you are working on Android, install Android Studio which is free. This will let you develop android applications in the native language. For this installation, you will need a few elements and then frame path variables.
Running The React Native App
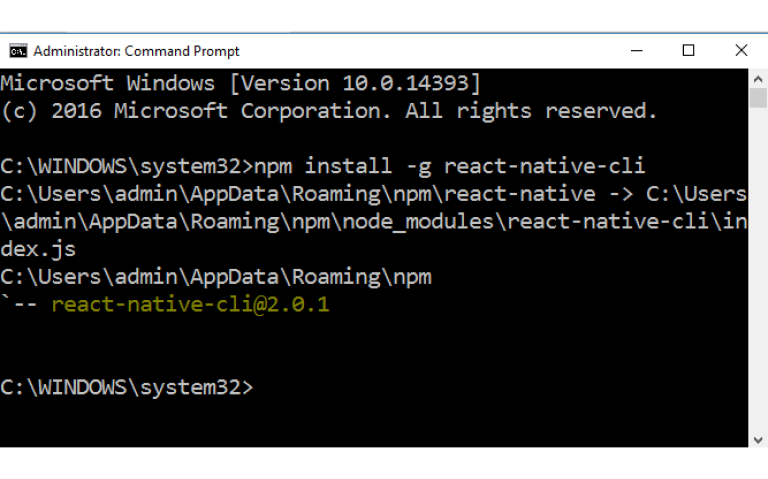
Let’s build a new app using CLI. Go and run this code – $ react-native init <appName> . The app name should be dramaCase, not drama-Case.
Go into your folder directory. To run the application, enter $ react-native run-ios.
After installing this package, your browser will open a link which looks like http://localhost.6189. This is your Xcode simulator which shows you a dummy outline with a white screen. If you find a red screen, you have encountered an error in the initial steps, so it is advised to kill are the ongoing procedures. This solves the issue in most of the cases.
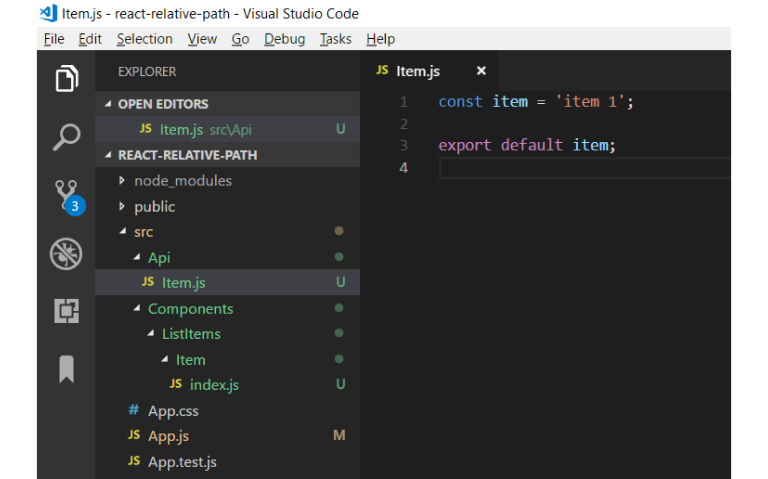
The next step is to create an src folder and an app.js file. For this, you have two options which are index.ios.js and index.android.js, for the respective operating systems. You can copy and then paste the app.js code into the respective file. Ensure that you import app.js into both of these files. To make sure that everything is working fine till now, select command+r to reload the simulator.
Utilising Styled-Components
The first thing to do is import the styled-components into the file you are using. Here, you would import it in app.js. In order to use Styled elements, you need to develop a new variable, which automatically becomes just like other React Native elements.
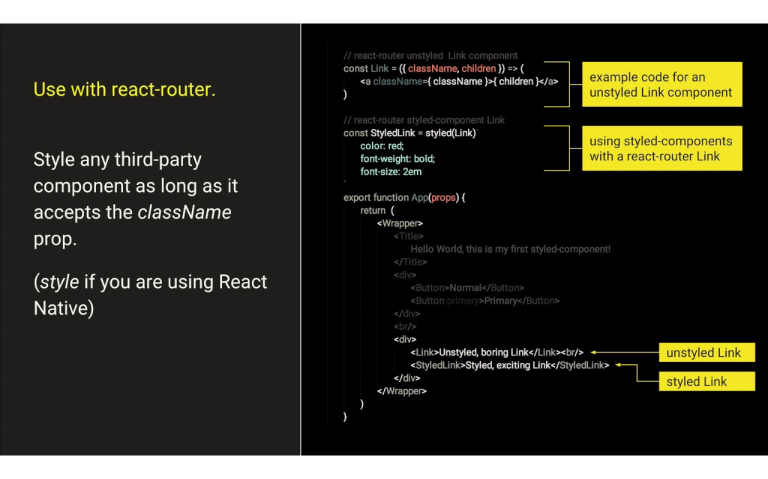
Now, go ahead and develop a styled <View/>. Here, you will find the backtick syntax used where you can easily compose your CSS. The next step is to use <Container/> in the same manner you used <View/>. The only difference is that now it’s a styled component with your CSS terms.
In order to refactor the app, you need to delete all the current CSS in the application. Create two different variables referred to as Container and TextStyled. Add the CSS specifications. Change the current components which are used in the app to show the new styled-components.
React-Navigation
Using React-Navigation is easy and simple. The best part is that it provides you with a variety of navigators which can be used as per your requirement for the app. Let’s go with TabNavigator. Import it into your app.js. import { TabNavigator } from ‘react-navigation’;
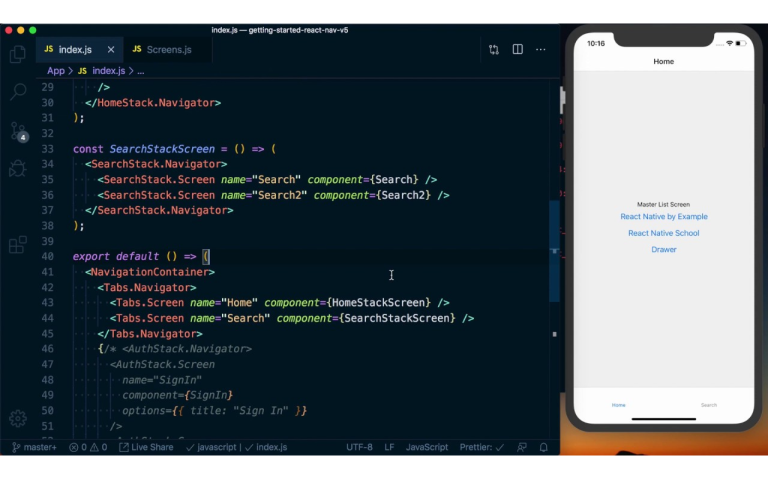
In order to navigate you will need a few elements. You will have to create components like Angular.js, Vue.js and React.js. Create these components and import them in your app.js. Develop a variable where you can find your tab Navigator. Every element will have a screen and a path designated to it. In case you are not linking any screen, you don’t need a path Reload the navigator to find the tabs at the bottom.
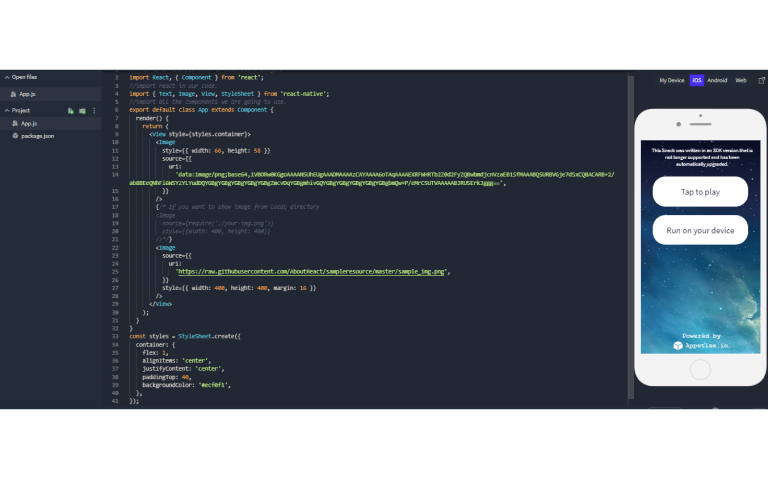
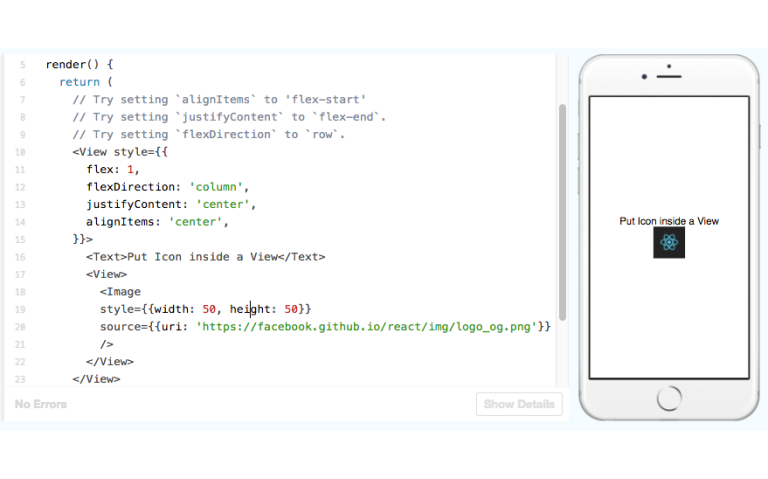
The Image Element
Let’s use the <image/> component. For this, import an image from React Native. You will have a range of images to use. As per your convenience, you can select the images you desire to use. Let’s take an example. You need to add an image for your main screen. Use <image/> and quote the image we have in our img file. You need to reload and voila, you’re done.
Another thing to note here is adding icons for the TabNavigator. For this, you can access the React Native vector icons, which is like a library or you can also use your own images.
Arranging Text
Let’s understand to display text in your app. Example – we need to put a question as our data. So, our component would be question.js. Now, this should have <View/> and <Text/>.
For the <Text/> element, you will put in this.props.b where b is like your answer. Next, add some data and render it through these elements. For the <View/> element, you can also change it to scrollable through scrollview. On refreshing, you will get the question nicely framed. You can also change the styling to give it a unique and stylish look.
Conclusion
Creating mobile applications has become easier than ever. It is important to look for developers who will back you during any issues or obstacles.
Techronous is a leading React Native App Development Company which focuses on client satisfaction and quality services. Our team developers work consistently to provide our valuable clients with the best applications as per their requirements. We have a qualified team of professional developers to help you out. Connect with us now for immediate assistance.